
Virtual try-on
The same man from <Picture 1>, now wearing the navy wool overcoat from <Picture 2>, buttoned, standing three-quarter to camera against a plain grey studio backdrop. Even soft light. Photorealistic still.
Text to image · Reference editing
Create an image from a prompt, or add 1 to 9 references to guide a new scene, outfit, pose or art style. References help guide appearance, but faces and fine details can vary. Choose from fifteen aspect ratios and 1k or 2k output, directly in your browser.
Create images from text or edit with up to nine reference images. Sign in to use your credits.
Example image preview
Text to image · Reference editing
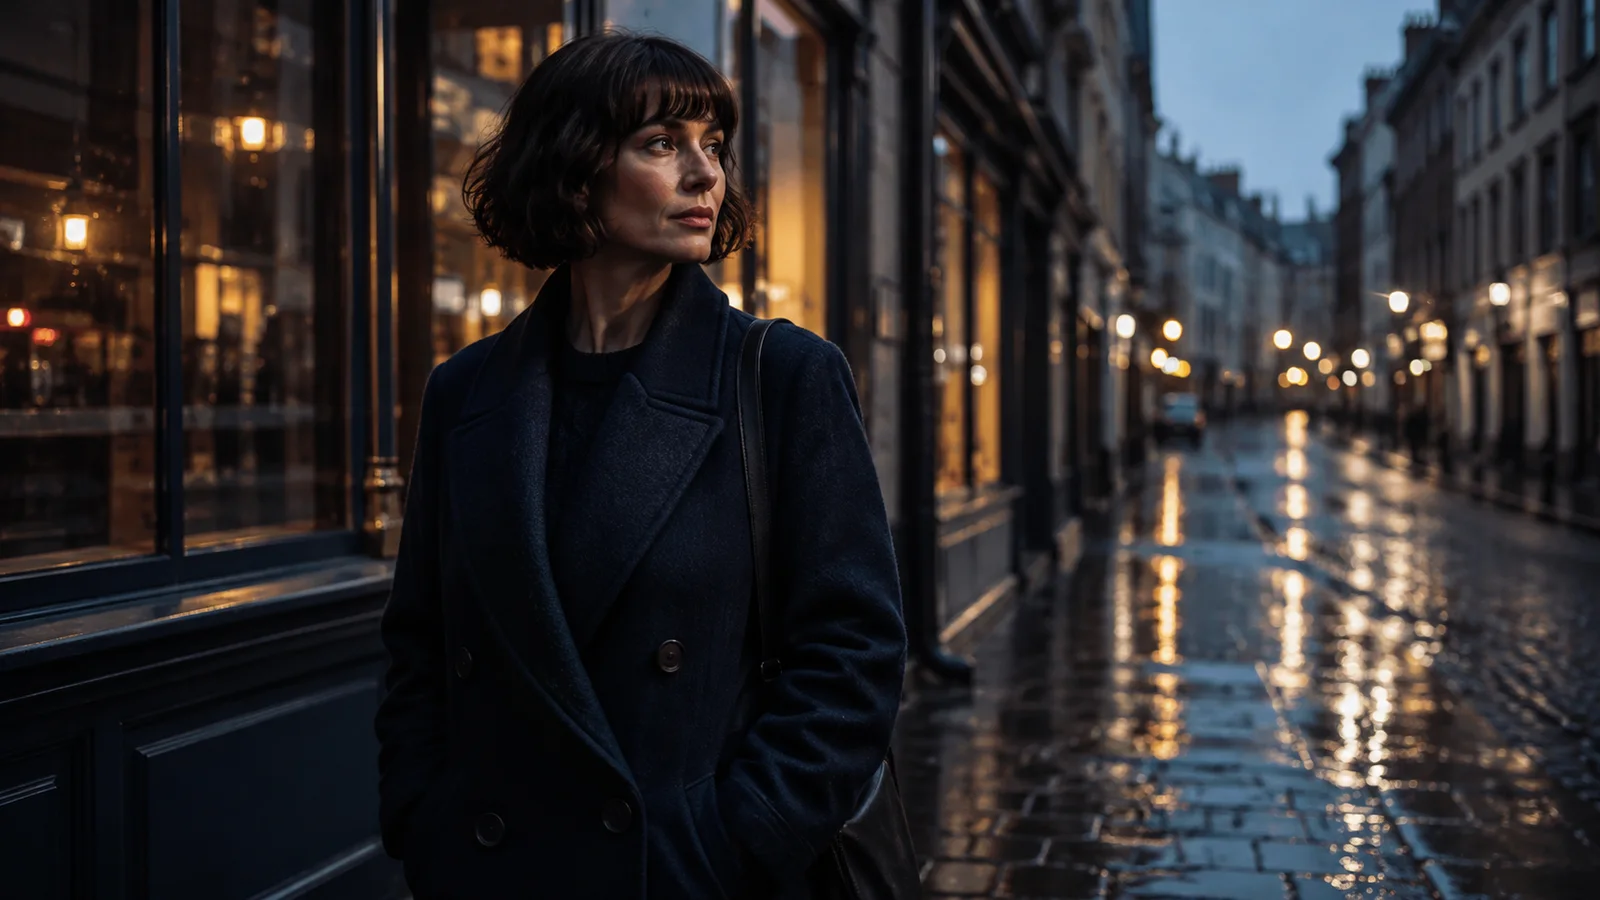
Illustrative image for composition and lighting inspiration.
Check the required inputs, output settings, aspect ratios, resolutions, and formats before submitting an image task.
promptYesDescribes the whole image: subject, setting, framing, lightingaspect_ratioSet itChoose one of fifteen presetsresolutionNo1k (default) or 2koutput_formatNojpeg (default), png or webpseedNoRandom seed. -1 picks a random seedpromptYesThe edit instruction. Refer to references as <Picture 1> … <Picture N>imagesYes1 to 9 reference image URLsaspect_ratioNoDefaults to the first reference image’s ratioresolutionNo1k (default) or 2koutput_formatNojpeg (default), png or webpseedNoRandom seed. -1 picks a random seedFeed posts, avatars, thumbnails
Instagram portrait
Print-style verticals, product cards
Standard photo print proportions
Stories, Reels, Shorts, TikTok
Banner rails, tall mobile hero images
Sidebar and skyscraper placements
Full-bleed mobile splash
Web headers, presentations, video thumbnails
Classic and archival looks
Standard camera proportions
Large-format print proportions
Blog headers, email banners
Site-wide banners
Cinematic inserts, title beds
Iteration for testing wording and composition
Larger output for final review; inspect dimensions and detail before publishing
General use; compact photographic output
Lossless edges and flat colour
Small files for web delivery
Prompt examples
Explore instructions for outfit swaps, scene relocations, style transfers and character sheets.
The same man from <Picture 1>, now wearing the navy wool overcoat from <Picture 2>, buttoned, standing three-quarter to camera against a plain grey studio backdrop. Even soft light. Photorealistic still.
The same woman from <Picture 1>, now standing on a rain-wet cobblestone street at dusk, shop signs glowing behind her, light falling from her right. Keep her hair length and glasses. Photorealistic still.
The subject in <Picture 1>, re-rendered as a hand-painted oil portrait with visible brushwork and warm earth tones. This is a painting, not a photograph.
The same character from <Picture 1>, now seated at a workshop bench under a single hanging lamp, holding a small brass tool, seen from the side. Keep the red scarf and the short beard. Same illustration style as the reference.
The model behind it
This page offers two image workflows: text to image for a still composed from a prompt, and reference editing for a new scene, outfit, pose or art style guided by 1 to 9 images. Both offer 1k and 2k output settings.
Describe lighting, skin and fabric texture, camera framing, and depth of field in your prompt. These are visual directions to evaluate in the result, not a guarantee of a particular rendering architecture or level of detail.
Reference editing uses supplied faces, hairstyles, accessories and clothing as visual guidance. Address references as <Picture 1>, <Picture 2>, and so on to distinguish a person, outfit or prop. Compare the output with each reference, especially when identity or small details matter.
Image gallery
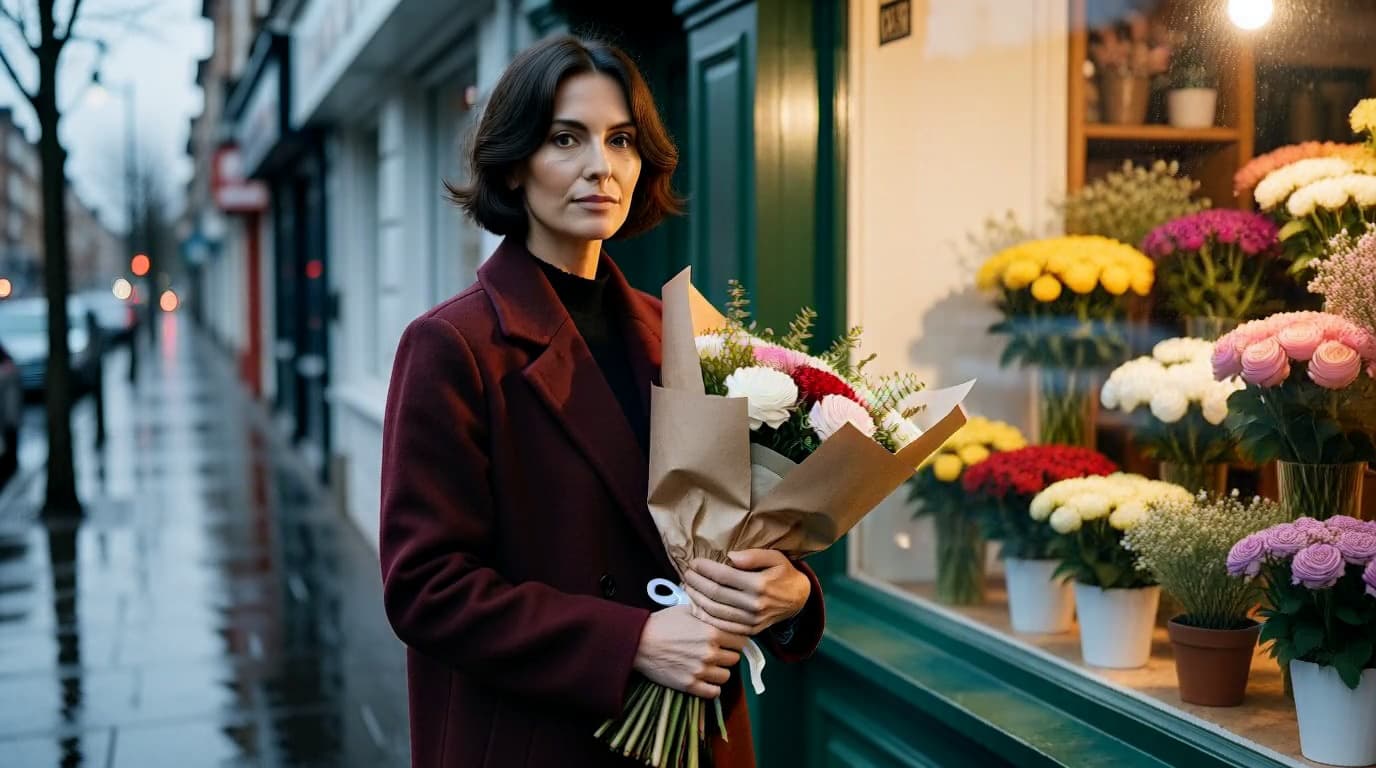
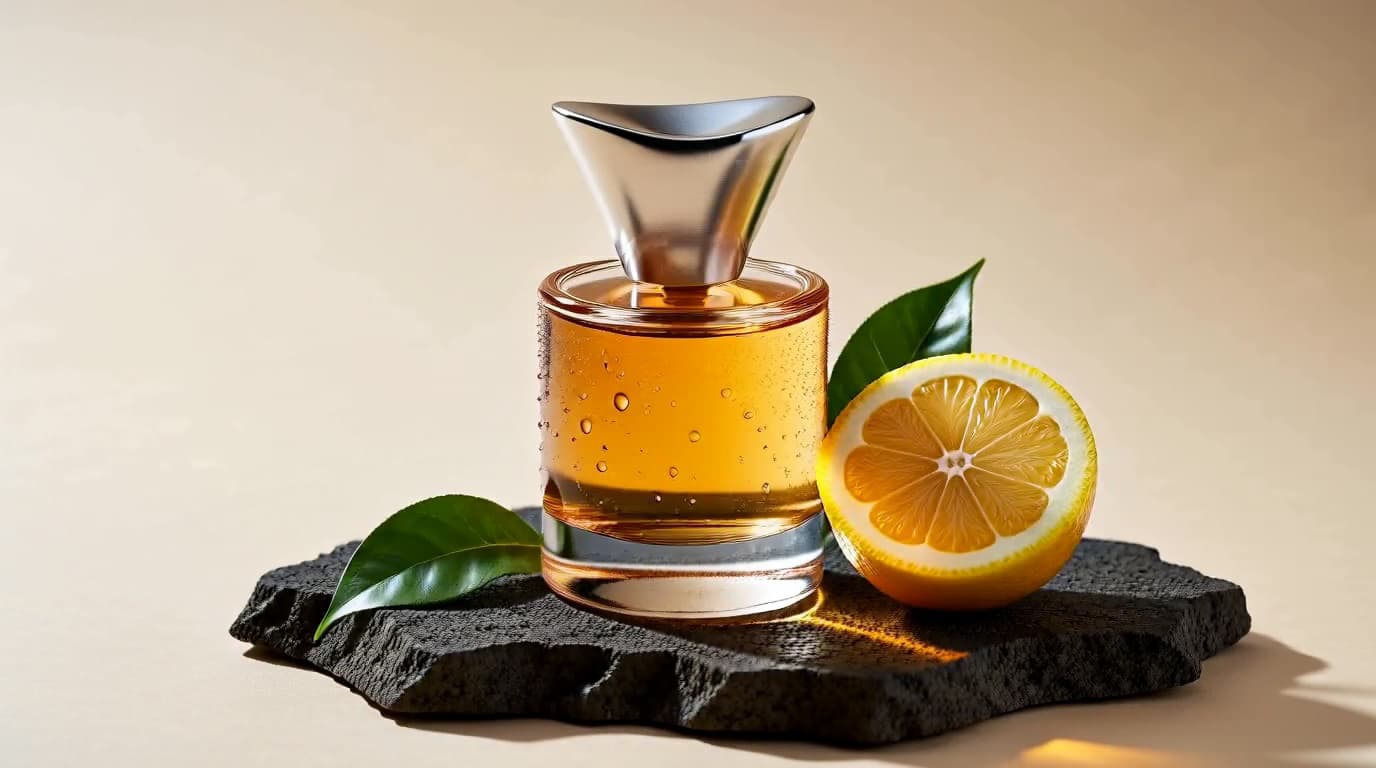
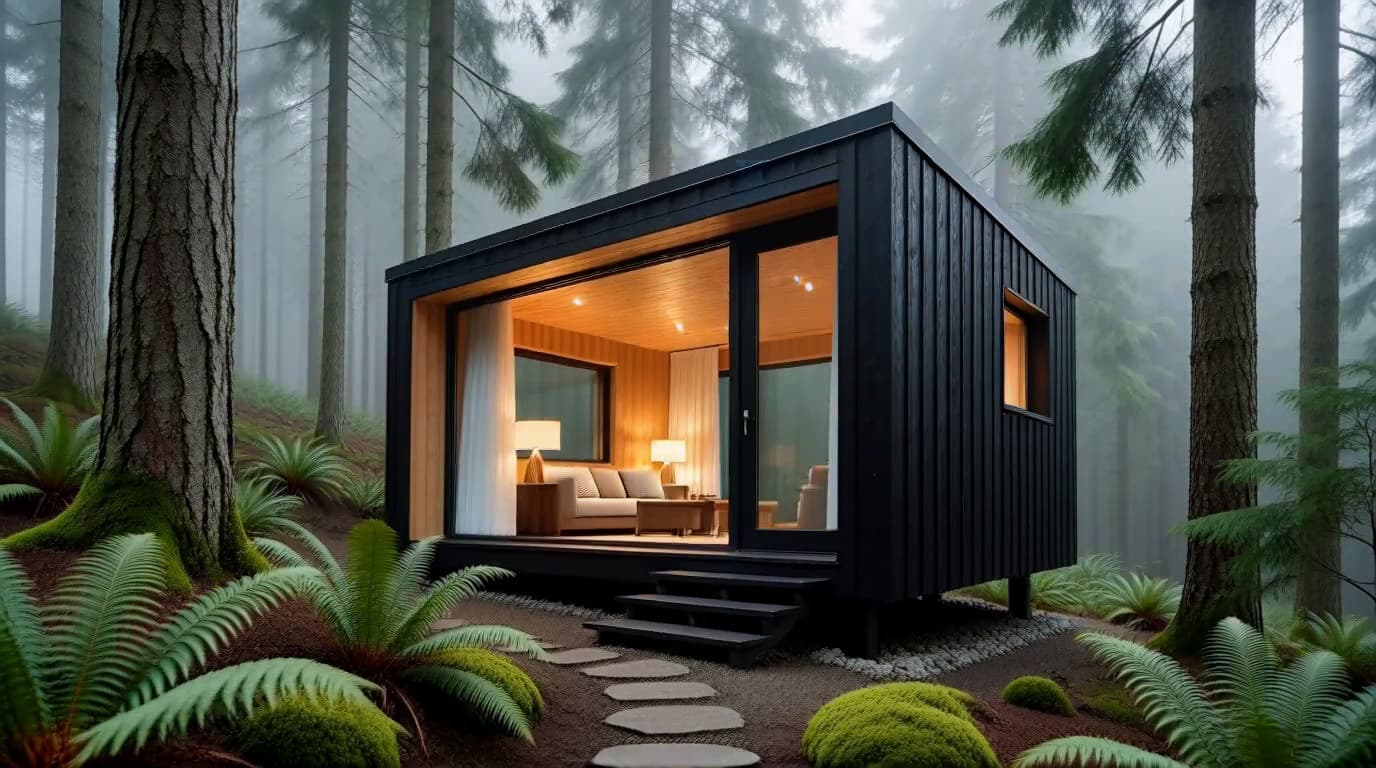
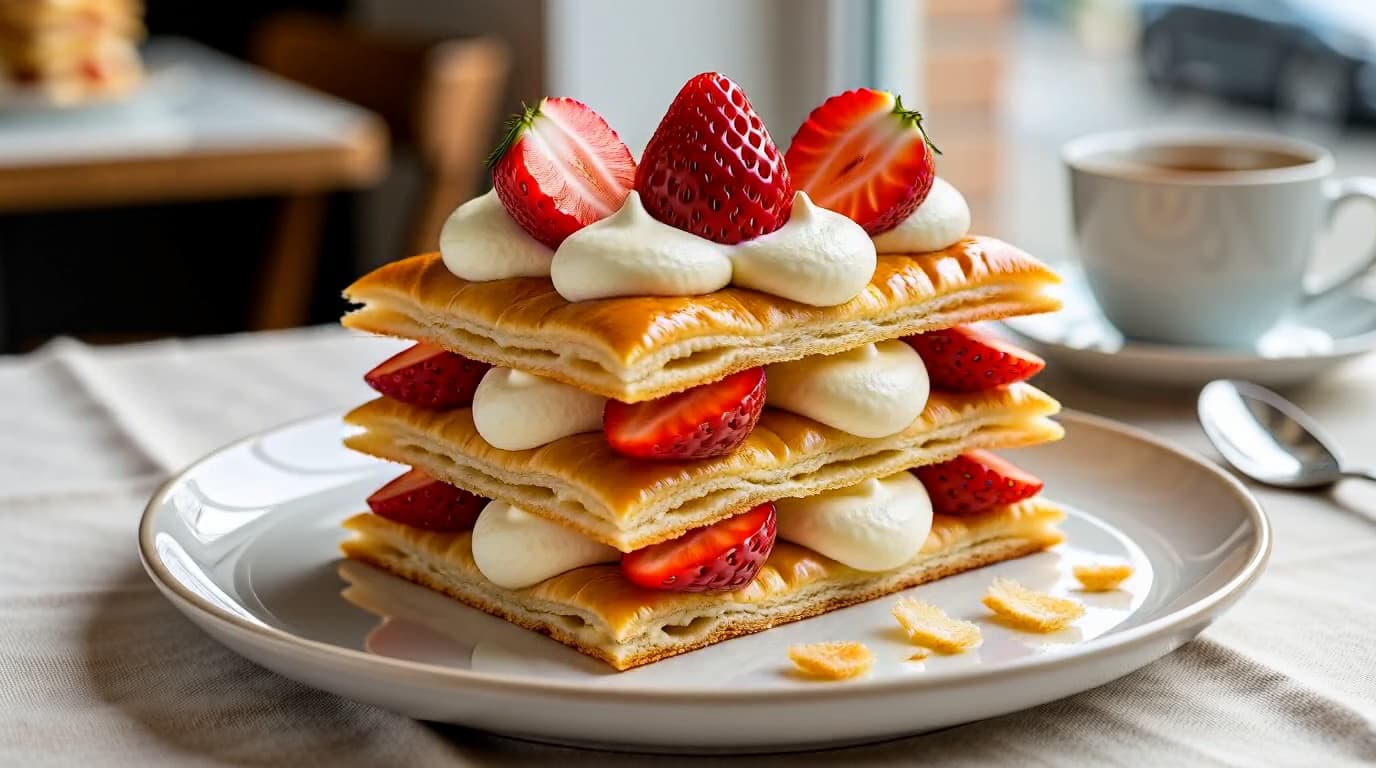
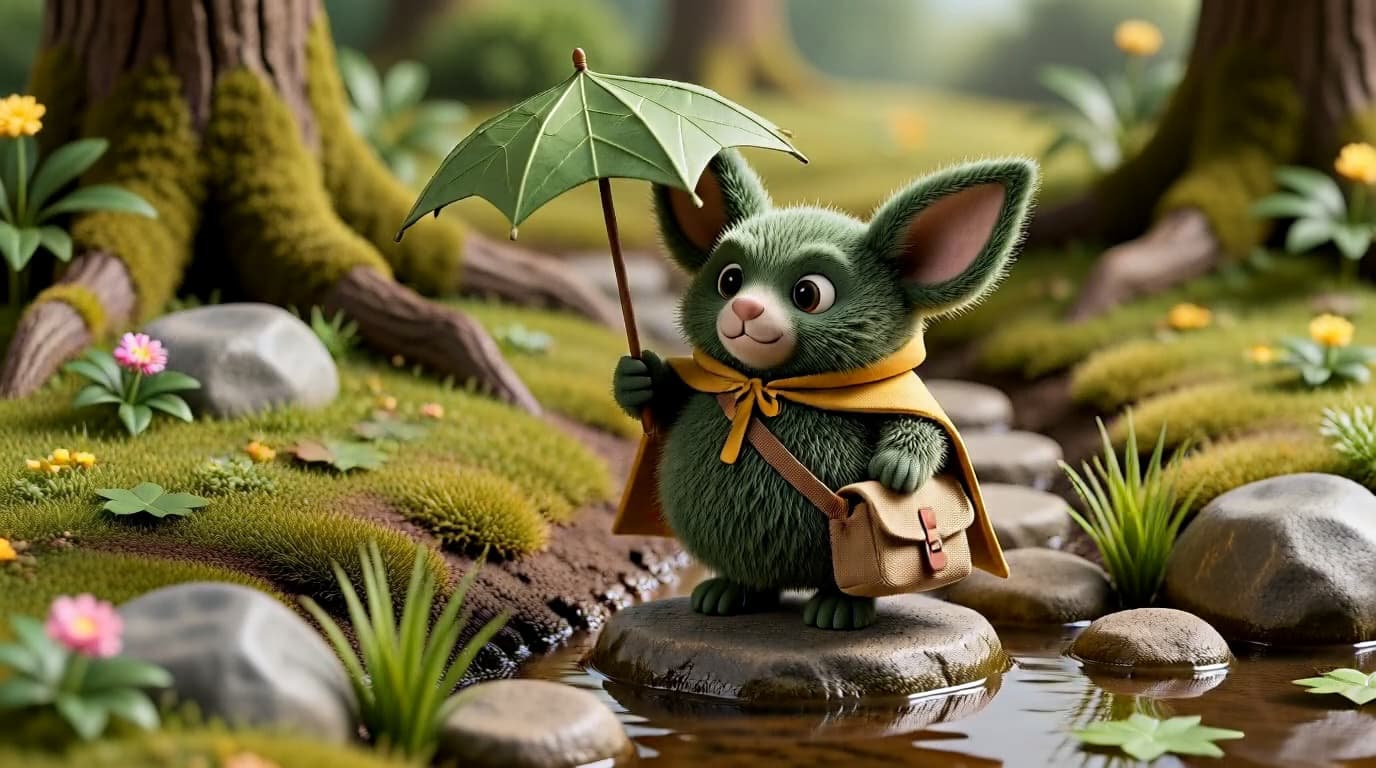
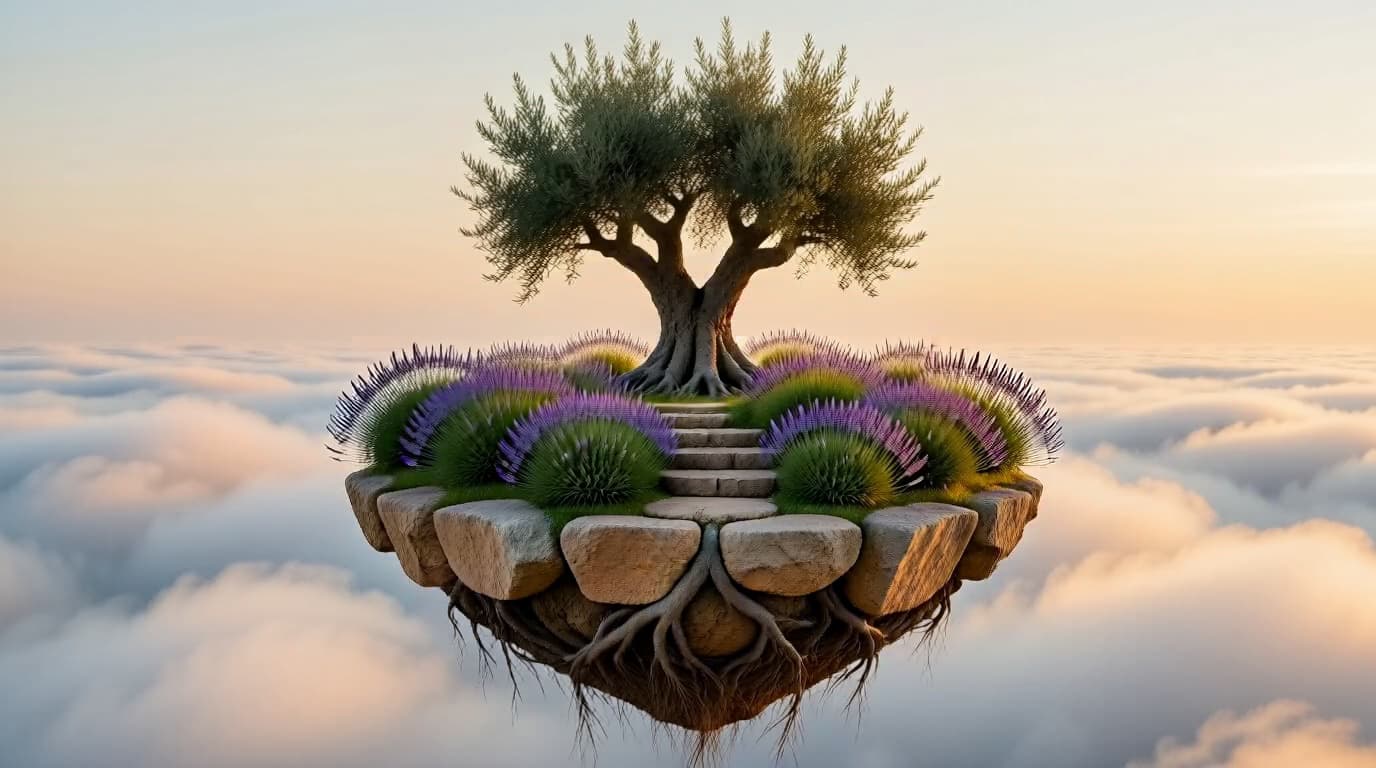
What it changes
Two endpoints, one model. Start from a text description and get a new still, or start from images you already have and change what is around the subject.
| What you want | Supported | What you provide |
|---|---|---|
| Change the scene | Yes | Subject reference + a description of the new location |
| Change the outfit | Yes | Subject reference, optionally a garment reference |
| Change the pose | Yes | Subject reference + the new pose in words |
| Change the art style | Yes | Subject reference + an explicit style instruction |
| Combine several subjects or props | Yes | Up to 9 references, addressed as <Picture 1>…<Picture 9> |
| Generate from text alone | Yes | A prompt describing the whole image, with no reference needed |
From a prompt alone
MiniMax H3 Text to Image composes a single photorealistic still from a written prompt, with no reference image involved, at 1k or 2k across fifteen aspect ratios.
Specify the light source, surface texture and depth of field you want. Inspect faces, fabric and fine detail in the downloaded image before using it as a final asset.
Use 1k for initial iterations and 2k when you need a larger output. Check the downloaded dimensions and detail at your intended display size.
Square, tall, wide and cinematic presets, listed in the parameter guide beside the generator.
Submit your prompt and settings, then wait for the returned image. Completion time varies with uploads, queue load and processing; review the displayed credit cost before submitting.
Reference-guided editing
Keep the subject, change the setting. Use references for identity, outfits, style and composition.
Use clear references and name the facial features, hairstyle, accessories and clothing you want to retain. Identity and fine details can vary between outputs, so compare each result before adding it to a series.
State the new location, what the subject wears and how they stand, and the model re-renders them into it with matching light and perspective. Supply a garment as an extra reference when you want it matched.
For oil painting, anime or illustration, the model re-renders the same subject in a different medium.
Address each one positionally in the prompt as <Picture 1> through <Picture 9>: a person from one, an outfit from another and a prop from a third.
Three steps
Choose your starting point, describe the image you want, then set the output and submit.
For text-to-image, skip straight to the prompt. For editing, upload one clear image of the subject, then add more for outfits, props or additional people, up to nine.
Working from text, describe the whole frame: subject, setting, framing, lighting. Working from references, describe what changes and point at them: “The same woman from <Picture 1>, now wearing a red leather jacket, standing in a neon-lit Tokyo alley at night. Photorealistic still.”
1k for iteration, 2k for final assets. Set aspect_ratio when working from text, or when you need a shape other than the first reference’s. The image comes back as a URL in your chosen format.
Real project workflows
Four kinds of work this fits: key art, concept exploration, virtual try-on and character sheets. The first two start from text; the last two start from images you already have.
| Use case | Endpoint | What it produces |
|---|---|---|
| Key art and thumbnails | Text to image | Cinematic stills that match the look of your video content |
| Concept exploration | Text to image | Scenes, costumes and moods to settle before you generate video |
| Virtual try-on and outfit swaps | Reference editing | Explore different clothes using an authorized subject reference |
| Character sheets | Reference editing | Develop variations, then check identity across settings, poses and framing |
Prompt craft
Five habits that help you describe the image you want more clearly.
Name the subject, the setting, the framing and the light. These details give the model a complete composition to work with.
Say where the person from <Picture 1> is, what they wear, how they stand and how the scene is lit.
For style transfer, say it outright: “This is a painting, not a photograph,” rather than naming an artist or a genre alone.
Hair, glasses, beard, a specific accessory: write them down when they are part of the identity you need held.
Keep the seed and other settings fixed while you adjust the instruction, so you can compare the effect of your wording more consistently.
| What you get | Why | Fix |
|---|---|---|
| The output looks like the reference, barely changed | The prompt named the reference but did not describe a new image | Write the location, outfit, pose and lighting in full |
| The style did not change | A style name alone reads as a description, not an instruction | Say the medium outright: “This is a painting, not a photograph” |
| The face drifted between runs | Reference guidance does not guarantee identical facial details | Use clear references, describe key features, and compare each result; rerun or edit if needed |
| The composition changes every time you reword | The seed is random | Fix the seed, then change only the wording |
| The wrong reference was used for the outfit | References were not addressed positionally | Point to them explicitly as <Picture 1>, <Picture 2> |
Same account, different job
The difference is what you hand over and what you get back. Choose a still for the look, or a clip for motion and sound.
| Workflow | Image editing | Video generation |
|---|---|---|
| What you supply | 1–9 reference images plus an instruction | A prompt, a frame, or a reference pack |
| What comes back | One still image | A 5–15 second clip with audio |
| Output | 1k or 2k | 480p, 768p or 2K |
| Charged | Flat rate per image | Metered per second of output |
| Best for | Stills, whether composed or carried across a series | Motion, camera work and sound |
A common order of work is to settle the look first, including outfit, styling and location, then take the approved still into the video generator as a first frame.
Frequently asked questions
Answers about text-only generation, reference images, resolutions, aspect ratios, output formats and prompt wording.
MiniMax H3 Image is an AI image model with two endpoints: text to image, which composes a still from a prompt alone, and reference editing, which takes 1 to 9 images and re-renders your subject into a new scene, outfit, pose or style.
Yes. MiniMax H3 Text to Image is a separate endpoint that takes a prompt and no images at all, rendering one photorealistic still at 1k or 2k. Set aspect_ratio explicitly in this mode.
MiniMax H3 Image accepts 1 to 9 reference images per request. Address each one positionally in the prompt as <Picture 1> through <Picture 9> so the model knows which reference does which job.
Choose 1k or 2k, with 1k as the default. Use 1k while you iterate and 2k for a larger output. Check the dimensions and visible detail of the downloaded image before preparing a final asset.
H3 Image supports fifteen aspect ratios: 1:1, 1:2, 2:1, 1:3, 3:1, 2:3, 3:2, 3:4, 4:3, 4:5, 5:4, 9:16, 16:9, 9:21 and 21:9. In reference editing, the output defaults to the first reference image’s ratio.
References can guide appearance, but an identical face is not guaranteed. Use clear images, describe important features and compare every output with the original, especially for character sheets or client work.
Yes. H3 Image handles outfit swaps: describe the new garment, or supply it as an extra reference image. Write out the clothing details you want to preserve.
Yes. MiniMax H3 Image performs style transfer to painting, anime or illustration. State the medium outright. “This is a painting, not a photograph” works better than naming a style or artist alone.
H3 Image returns jpeg by default, and png or webp on request via the output_format parameter. Choose png for lossless edges and flat colour, and webp when file size matters at the destination.
Fix the seed and keep the prompt and settings the same. MiniMax H3 Image uses a random seed unless you set one. A fixed seed gives you a more consistent starting point for repeated runs.
An underspecified prompt can contribute to this. Describe the new location, outfit, pose and lighting rather than only pointing to “the person from <Picture 1>”. Try changing one instruction at a time and compare the results.
Get started
Start with a reference and describe the new scene. Explore the image workflow and find the credit pack that fits your next project.